


TECEdrainprofile – assembly
Cut to length, insert, adjust – recessed assembly in no time.
One special feature of the TECEdrainprofile is the length-adjustable stainless steel profile, which can be adapted precisely to the dimensions of the shower area. Different thicknesses of wall and floor covers are also quickly covered thanks to fine adjustment in all horizontal and vertical directions. Another special feature: the factory fitted Seal System sealing sleeve. This allows a water-tight connection – simply by clicking in.
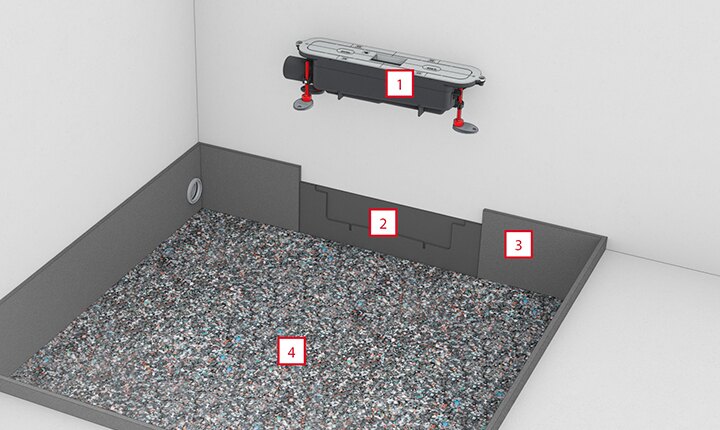
1 TECEdrainprofile drain
2 Sound insulation for
TECEdrainprofile drain
3 Edge insulation strip for
sound insulation
4 Drainbase sound
insulation mat for impact
sound-proofing
Step 1: Before the drain is inserted, the shower area is expertly prepared by installing the sound insulation strip, the edge insulation strip and a sound insulation mat for impact sound insulation.
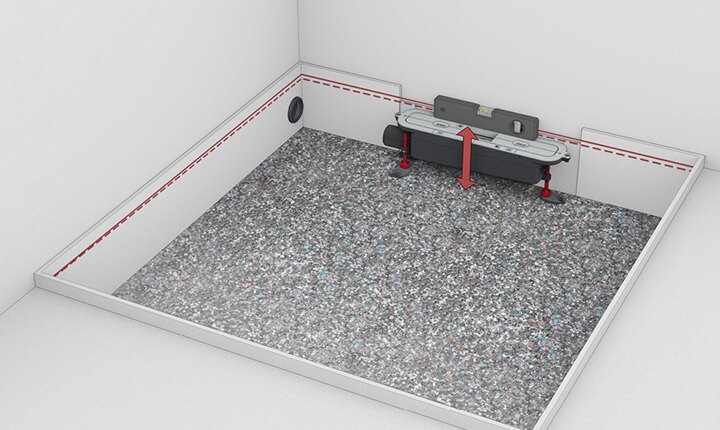
Step 2: Adjusting the height of the drain is made significantly easier by the
optionally available assembly feet.
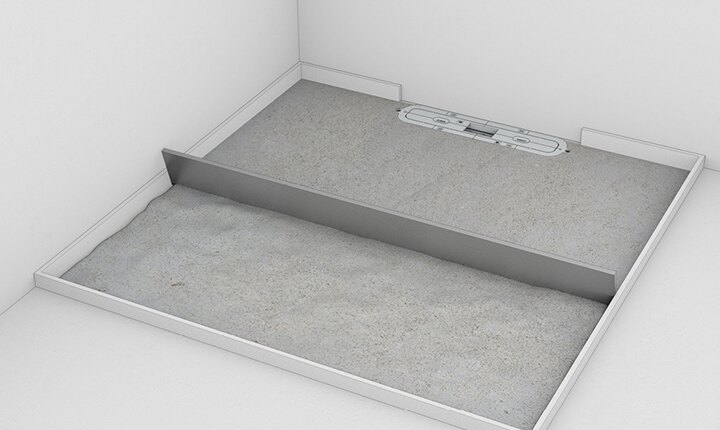
Step 3: The screed is installed with a gradient of 1 to 2% to the wall. The factory fitted bare-wall protection protects the drain from damage and dirt in the process.
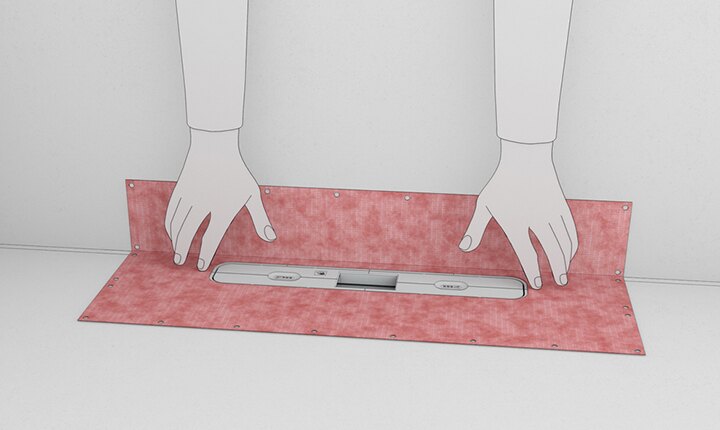
Step 4: Sealed with a click: once the screed has been installed, the first part of the bare-wall protection is removed from the drain and the sealing sleeve supplied is inserted via the click mechanism. The shower area can now be sealed and tiled.

Step 5: The stainless steel is installed recessed and can be shortened on both sides where required. This means it can be precisely tailored to the width of the shower area.
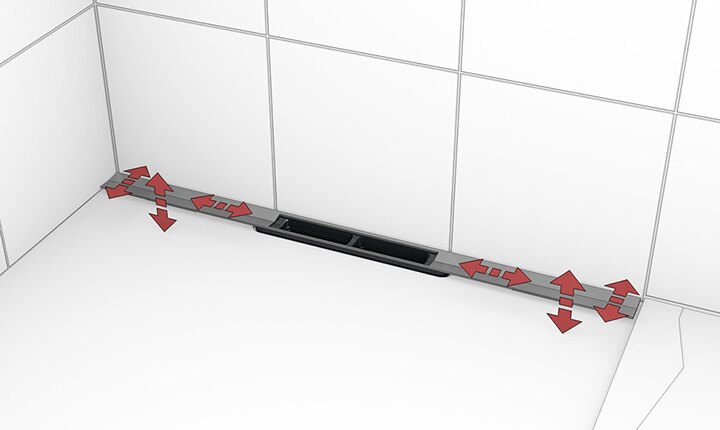
Step 6: The shower profile can still be finely adjusted both horizontally and vertically even after the drain is mounted in the screed and can be adjusted to different thicknesses of wall and floor covers.
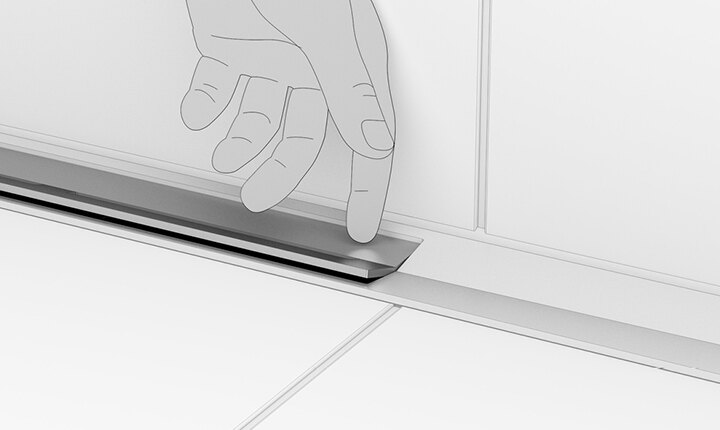
Step 7: Thanks to the “push function”, even when installed the profile lid can be removed by hand without any tools for cleaning of the drain.
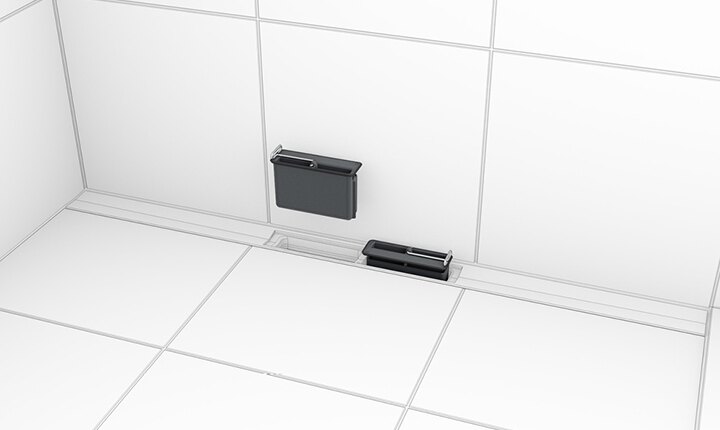
Step 8: The odour traps can also be easily removed for thorough cleaning of the shower profile.