


TECEdrainline – Assembly
The classic composite seal with optimum solution
Secure installation in the composite seal – with the sealing classic from the Seal System composite.
The Seal System sealing tape provided means you have one less thing to worry about during the installation: this is because thanks to the Seal System you always have absolute assurance when it comes to the compatibility of the composite seal products with the Seal System sealing tapes and the TECEdrainline shower channels.
The installation of the tried and tested classic goes even smoother with the optionally available assembly feet, which make it even easier to position and align the channel.
The installation steps
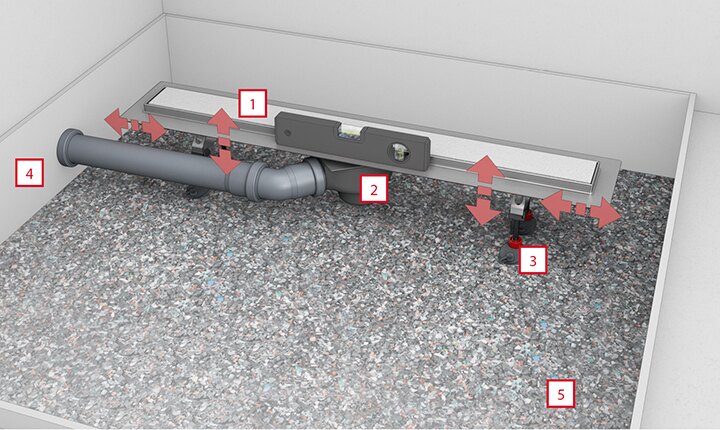
2 TECEdrainline drain
3 TECEdrainline assembly feet
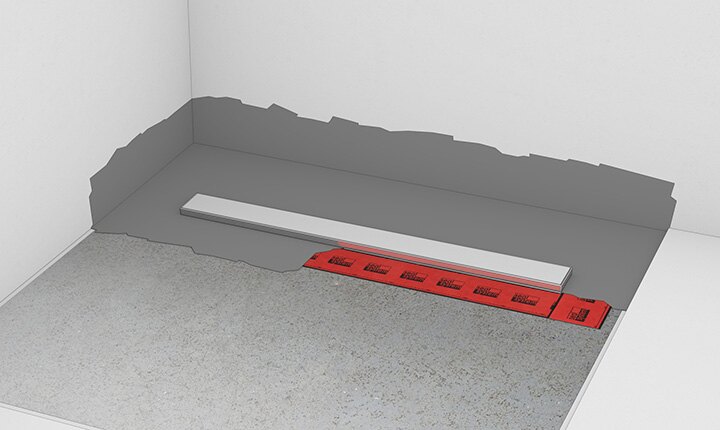
4 Edge insulation strips for sound insulation
5 Drainbase sound insulation mat for sound-proofing
Step 1: Before the shower channel is inserted, the shower area is expertly prepared by installing lateral edge insulation strips and a sound insulation mat for impact sound insulation. Now the channel is positioned in the space, aligned and connected. The height of the channel is also easy to adjust thanks to the optionally available assembly feet.
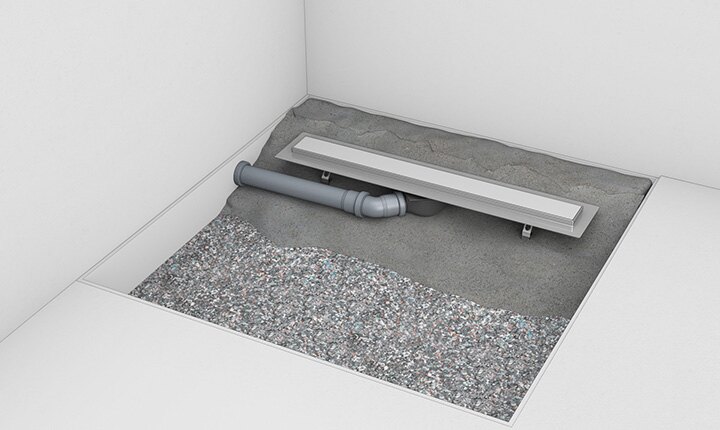
Step 2: The screed is installed with a gradient of 1 to 2% to the channel to ensure optimum drainage.
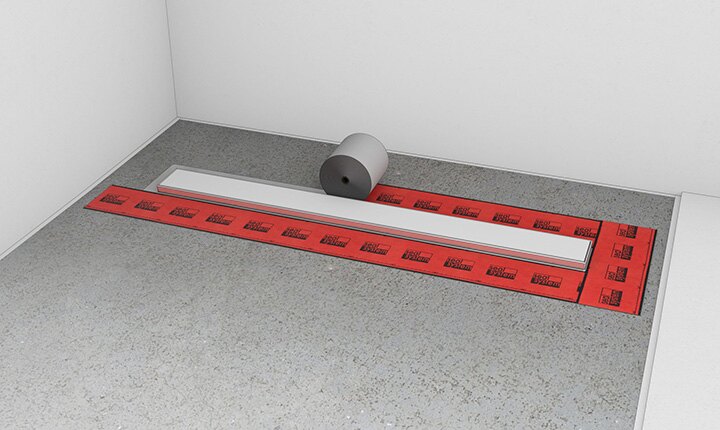
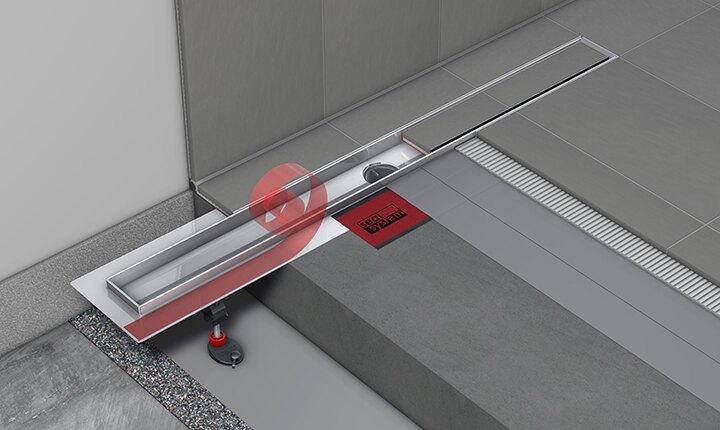
Step 3: The Seal System sealing tape is glued on in such a way that it overlaps with the shower channel flange and the screed.
Step 4: Afterwards, the first layer of the composite seal is applied.
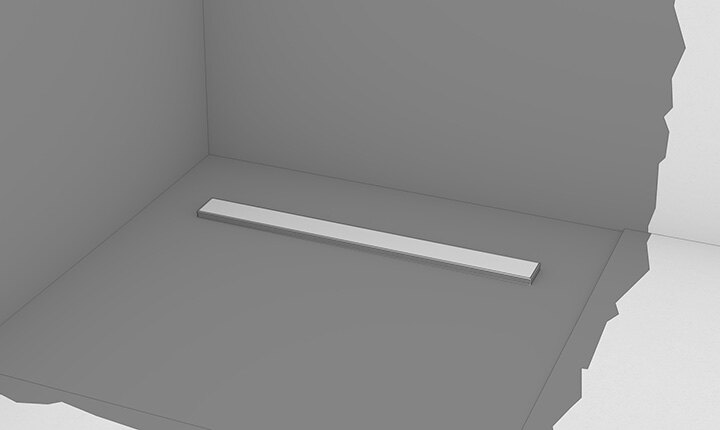
Step 5: Now the composite seal can be completely applied.
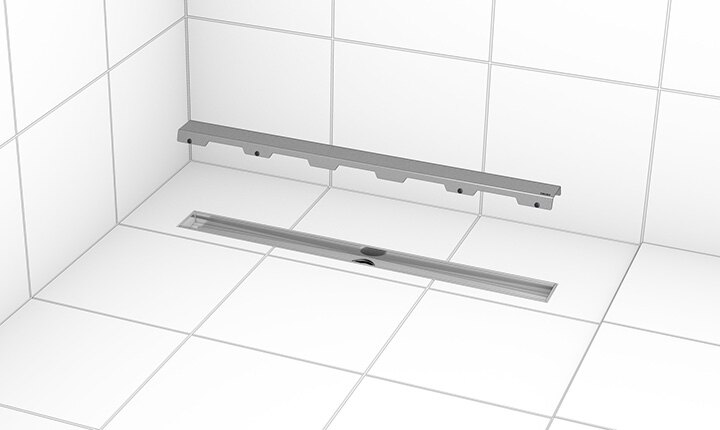
Step 6: After tiling and grouting, the cover is inserted into the channel body. This concludes the assembly. To enable thorough cleaning, the cover can also be removed any time after assembly and replaced again.